
Fermentation is all the rage at the moment. Hipster cafés in hip little pockets of cities are sure to be filling their hip pockets selling all kinds of fermented goodness. But who would’ve thought you could keep more of your hard-earnt money in your hip pocket by putting your chicken feed through the fermentation process (was that hip enough for you?).
Firstly, “what is fermentation?” you may ask…put simply, fermentation is the process of a substance breaking down into a simpler form and in the case of chicken feed, into a more digestible form. There are a couple of different types of fermentation used in different ways but the one that is used in fermenting chicken feed is called lacto-fermentation – lactic acid does all the work!
So why should you ferment chicken feed?
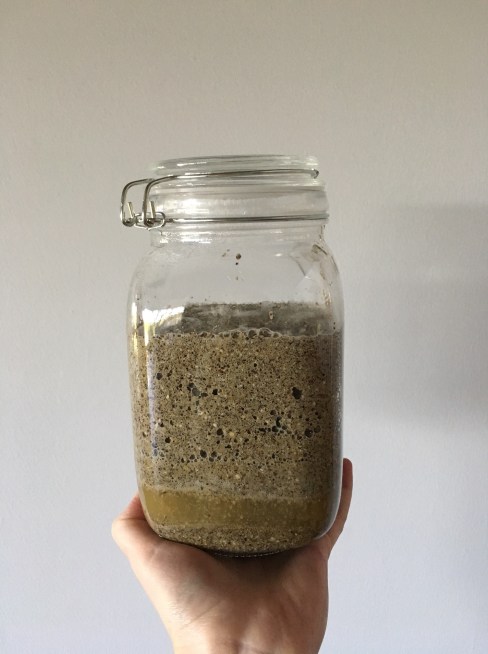
There are a couple of reasons why we started fermenting our feed here at KaMa Heights Farm. In the process of the feed breaking down, it expands exponentially (we ferment layer pellets so scratch or seed may not expand to the same degree)! Do you remember that science project at primary school where you constructed a volcano out of paper mache` and then made exploding lava by mixing baking soda, vinegar and dish liquid? It’s kind of like watching that…and cue here the perfect time for my first tip – ensure you don’t overfill your jar/container at the start otherwise you will have a bubbling mess to clean up! So, if you’re pickin’ up what I’m puttin’ down, you can stretch your feed a lot longer and further given the expansion of volume once fermented. Keeping those pennies in your pocket (or adding more feathered friends to your flock!).
Lacto-fermentation as mentioned above, breaks down the substance and greatly improves the digestibility for your hard-working hens. The lactic acid bacteria after 24 hours begins fermenting the feed by consuming the sugars and multiplying, producing lactic acid. This in turn creates a living environment for only good bacteria and beneficial microbes. One of those beneficial bacteria is called Lactobacillus. This helps retain pH and acidity levels in the stomach, assisting with digestive balance, aiding in the absorption of nutrients and strengthens the immune system. What a powerhouse, huh!?!
Are you sold yet? Reduced feed costs, healthier, happier hens? Surely you are. So let me show you how you can get onto fermenting your feed today.

What you need:
- 3 x Jars/Lidded Buckets/Containers (depending on the size of your flock, choose what works for you. We currently only have four hens and find these 1.5 litre jars perfect)
- Your choice of chicken feed (we use layer pellets but you can use seed and scratch too)
- Filtered water
Yep that’s it! What’s the bet you already have those things at home ready to go? Go on, go grab them.
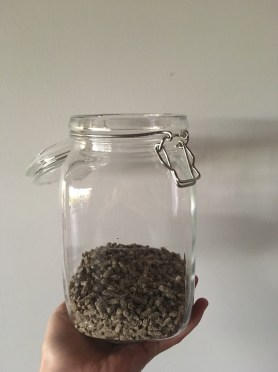
Step 1: Using one jar, fill about ¼ full of feed – remember I said it expands, allow for that!
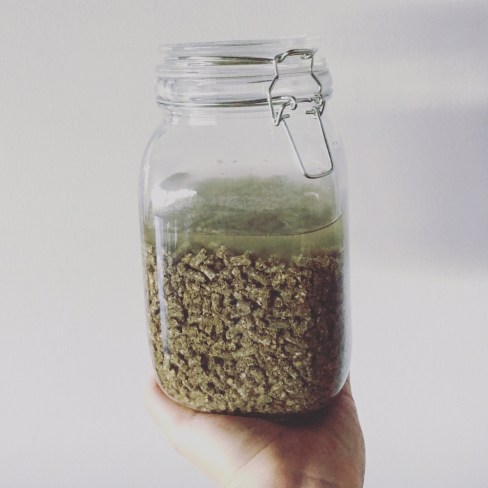
Step 2: Fill the jar with filtered water until its covering the feed by 2-3 finger widths. Town water has added chlorine etc. that kills bacteria so filtered is best.
Step 3: Place lid on securely and sit on the bench or somewhere convenient at room temperature. It will start expanding pretty much straight away so you may find you need to add more water along the way. It’s important to keep the feed submerged in water so as they continue to ferment rather than go off and mould.
Step 4: Open the jar once a day to let some of the gasses out and give it a stir. Use a wooden spoon to do so but nothing metal as it can interfere with the fermentation process.
On day two, repeat the above process with your second jar and on day three, with your third jar. The first batch you made will be sufficiently fermented and full of goodness for your ladies on day four so you can rinse that jar and keep the process going so you have an ongoing daily supply.
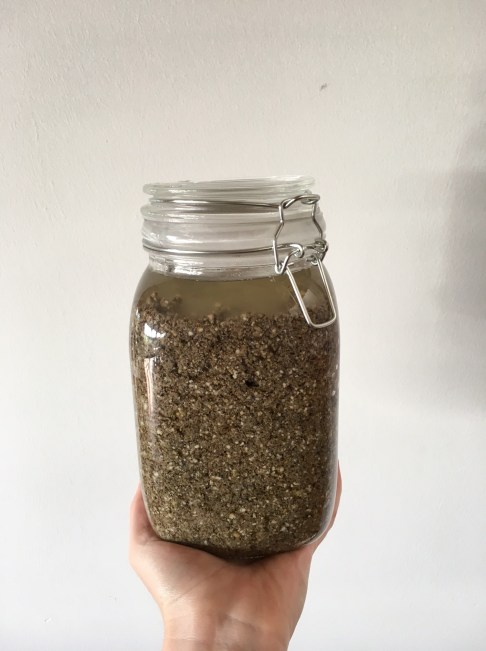
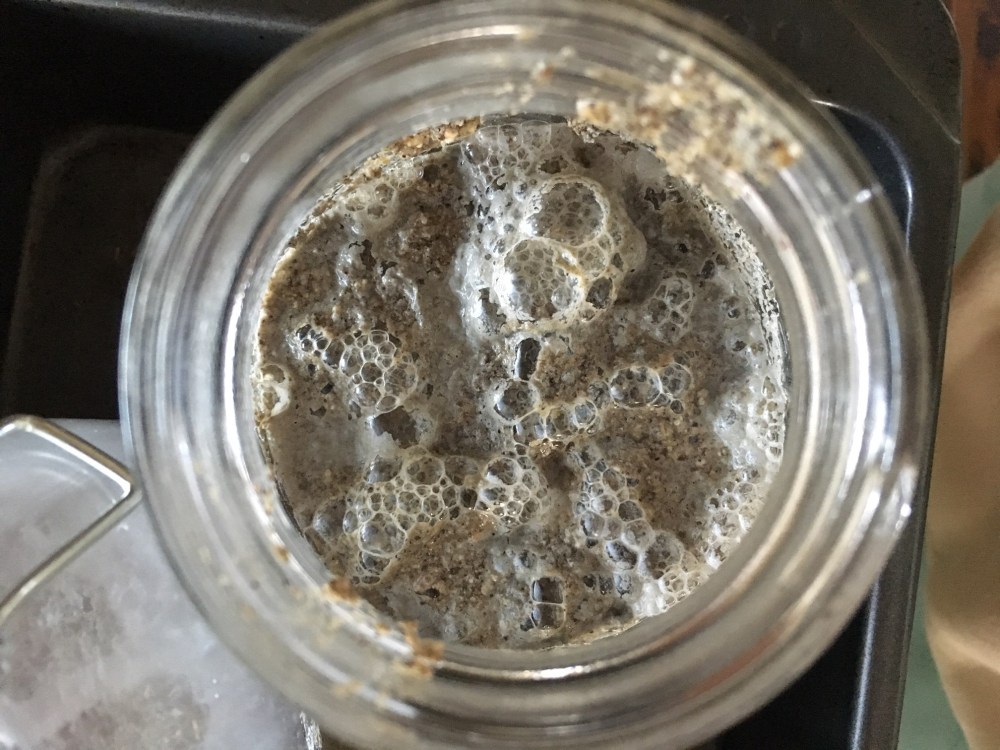
You will notice after two days that the environment in the jar is quite lively and you should see bubbles on the surface and moving throughout the mix – that’s fermentation in action! It will have a slightly sour smell to it and that’s completely normal but if it smells really unpleasant, rotten or strong, the batch has likely gone bad and you will need to start again. If you can see mould also, throw it out and start again. If you are vigilant in ensuring the feed is always submerged by the water and its in an air-tight vessel, then you shouldn’t have these problems.
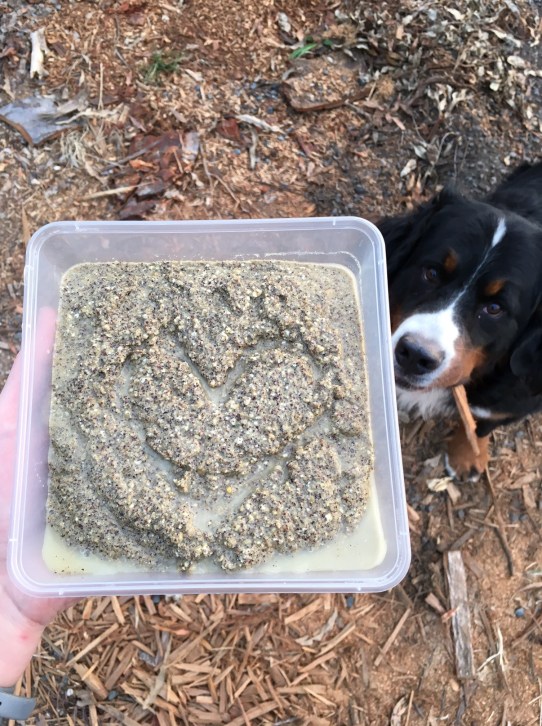
Pour the fermented feed into a dish and watch your girls gobble it down.


One Comment Add yours